Views: 0 Author: Site Editor Publish Time: 2025-04-15 Origin: Site


Installing a Video LED floor involves several critical steps to ensure it's safe, functional, and visually impressive. Whether it's for a nightclub, event venue, showroom, or exhibition, proper installation is key to long-term performance and durability.
Step-by-Step Video LED Floor Installation Guide
1. Site Preparation
What to Do:
Ensure the surface is flat, level, and load-bearing.
Remove dust, moisture, or debris from the floor area.
Prepare necessary power and data connections.
Tip: For uneven surfaces, use an adjustable floor base or supporting frame system.
2. Install Support Structure (Optional but Recommended)
Frame or Truss System:
Use a steel or aluminum base frame to support the LED panels.
This structure provides stability and easy cable management.
Some LED floors come with self-supporting cabinets, which can be installed directly on the floor.

3. Lay the LED Panels
Panel Setup:
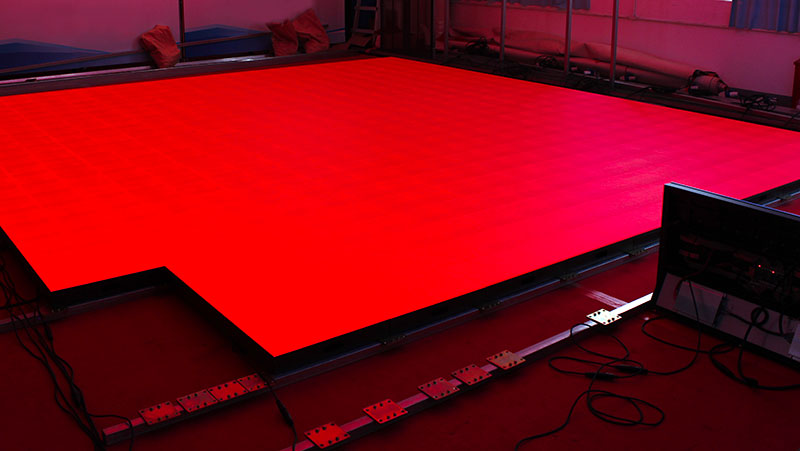
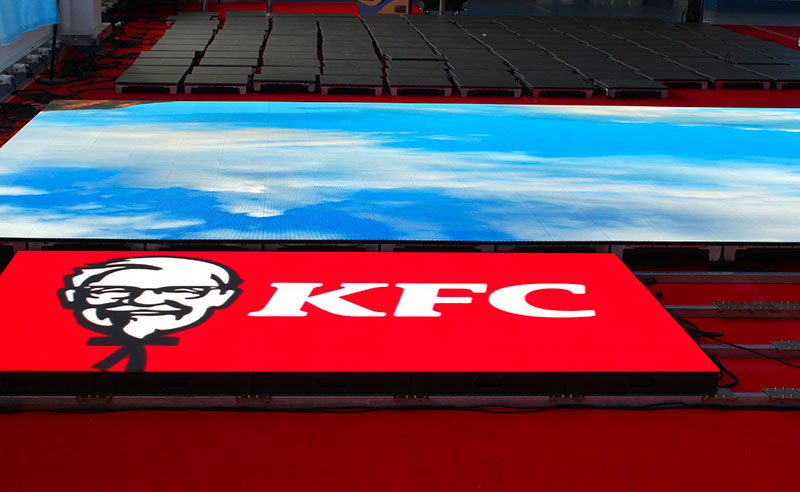
Unbox and arrange the modular LED panels in the desired layout.
Connect panels using the locking system (usually side clamps or magnetic fasteners).
Ensure alignment for a seamless, flat display.
Be careful to match the pixel pitch and keep panel orientation consistent.
4. Connect Power and Data Cables
Wiring:
Connect each panel to a power supply and data controller.
Use daisy-chain wiring to simplify the cable layout.
Connect panels to the main controller box or video processor.
Use circuit breakers and surge protection for safety.
5. Install Interactive Features (If Applicable)
Sensor Integration:
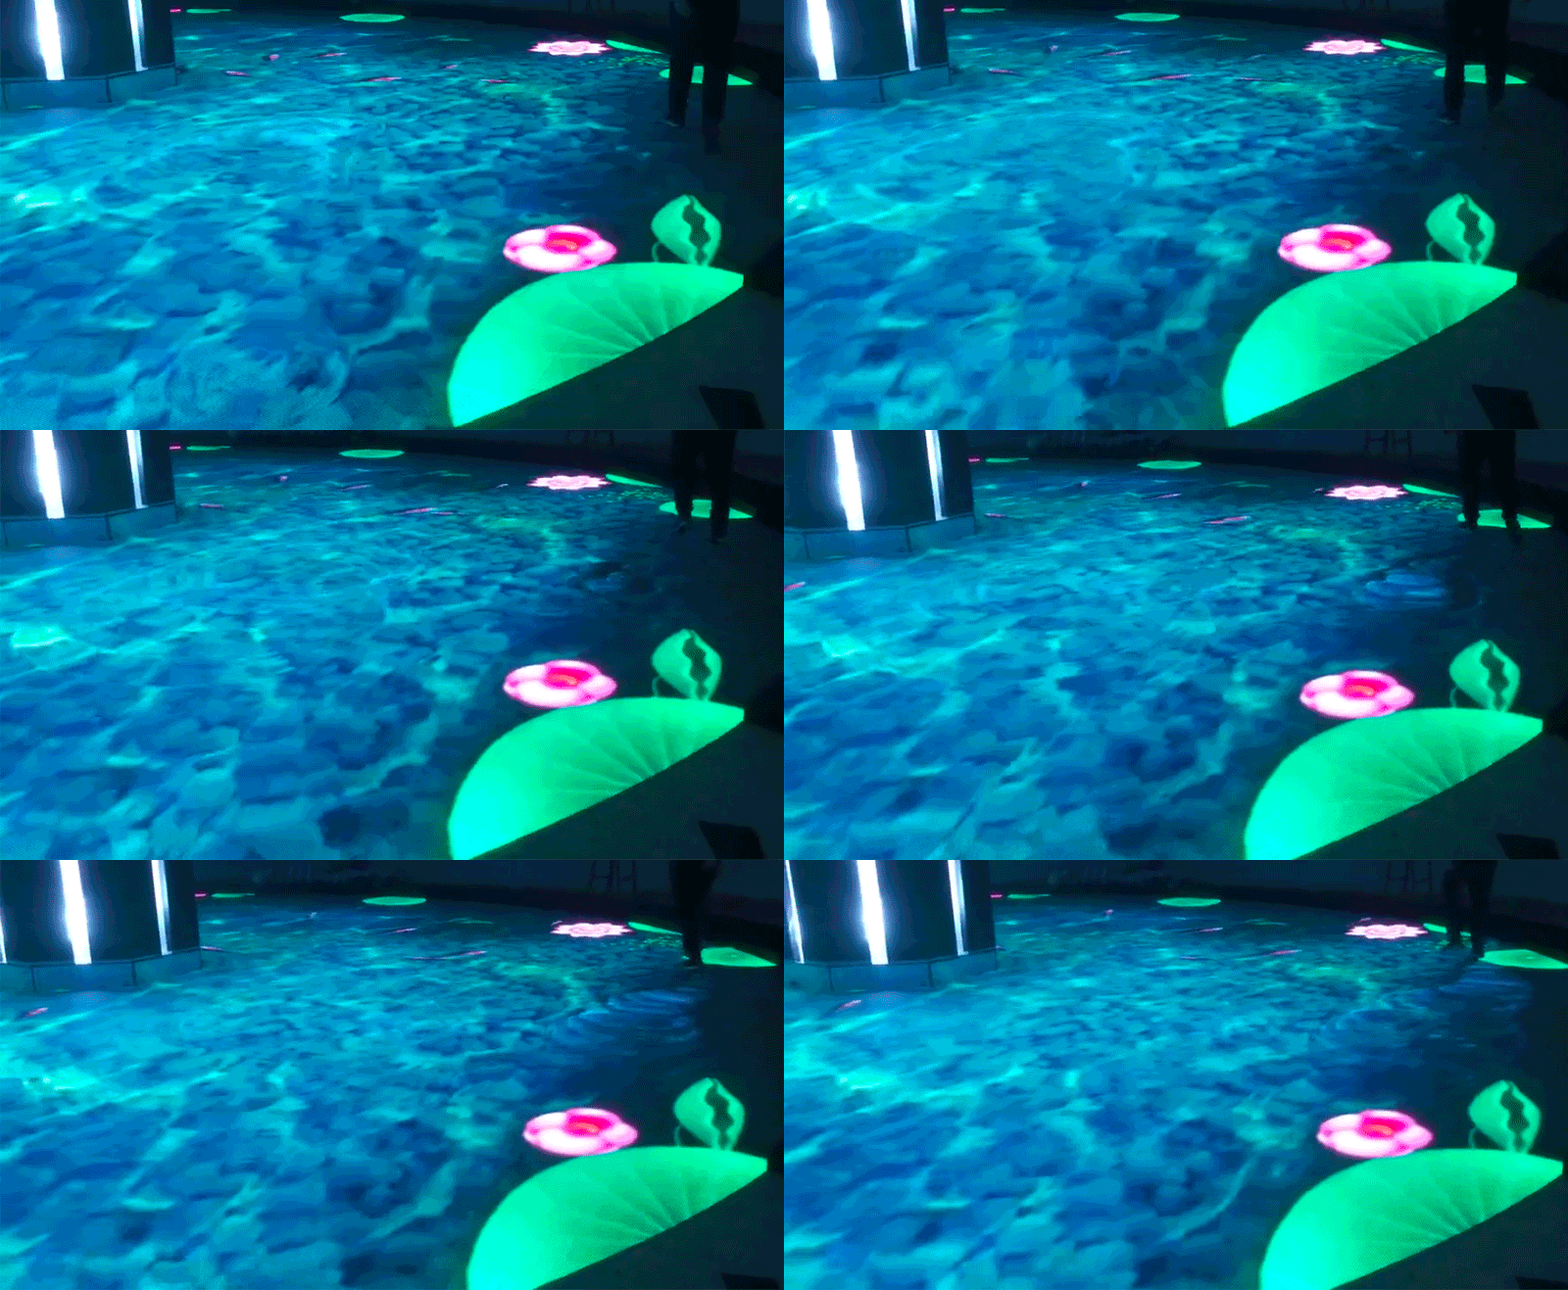
If your is interactive, install infrared, capacitive, or pressure sensors.
Configure the sensor mapping using control software.
Interactive zones can be defined by segmenting panels during calibration.

6. Configure Control System
Software Setup:
Connect the LED floor to a media server, LED controller, or computer with video software.
Set screen resolution, layout, and calibrate brightness and color settings.
Upload and test display content.
Software like NovaStar, Colorlight, or Madrix are commonly used.
7. Final Testing
Check Everything:
Test each panel for brightness, color consistency, and video playback.
Run an interactive test if sensors are installed.
Confirm no flickering, gaps, or dead pixels.
8. Protective Finish & Maintenance Setup
Top Layer:
Some LED floors come with a protective tempered glass or acrylic cover to increase durability and anti-slip resistance.
Make sure it’s securely mounted and doesn’t interfere with visuals.
Create a maintenance plan for cleaning and checking panel connections regularly.

LED floor panels & controller
Power distribution unit
Video processor or media server
Frame system or support trusses
Cable ties, power/data cables
Screwdrivers, level tools
Software configuration laptop
Always follow the manufacturer’s manual for specific model instructions.
Work with an experienced AV technician or installation team for large or complex projects.
Consider ventilation and cooling if used in high-traffic or high-temperature environments.
Installing a Video LED floor requires careful planning, precision, and the right tools. Whether for a permanent venue or a temporary event, proper setup ensures stunning visuals, safe operation, and a long-lasting display.